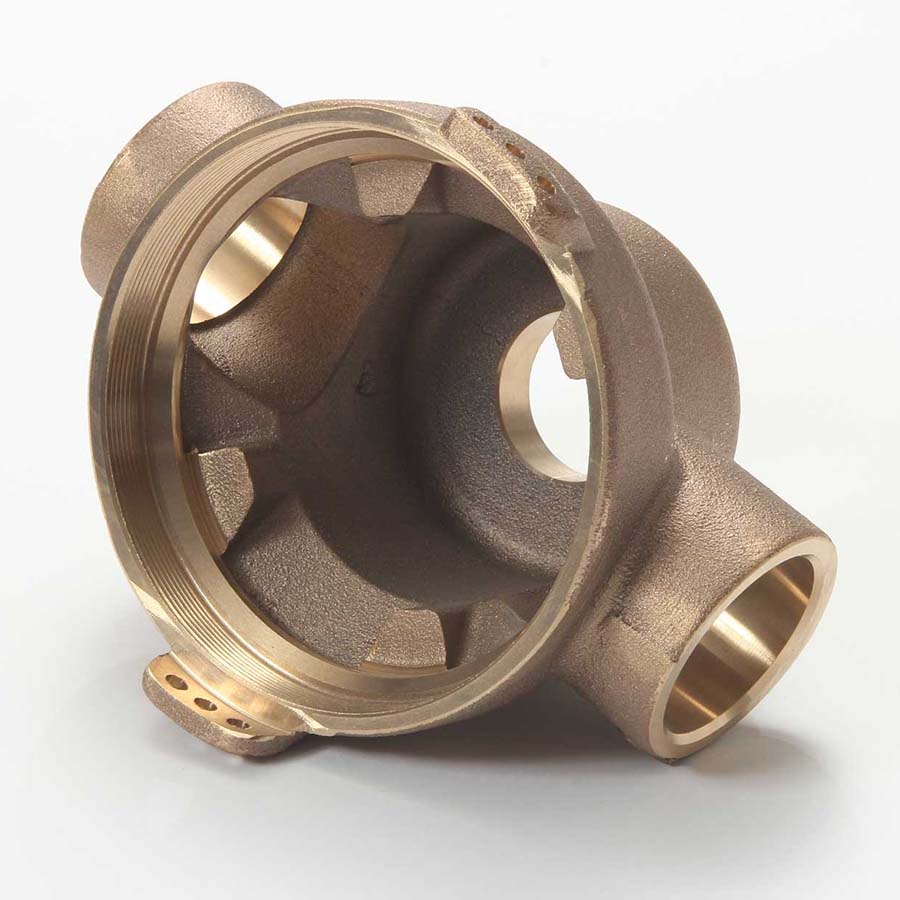
Custom Brass CNC Machining Part
Material: Brass and Copper Based Alloy
Process: Investment Casting + CNC Machining
Weight: 2.80 kg
Finish: Shot Blasting
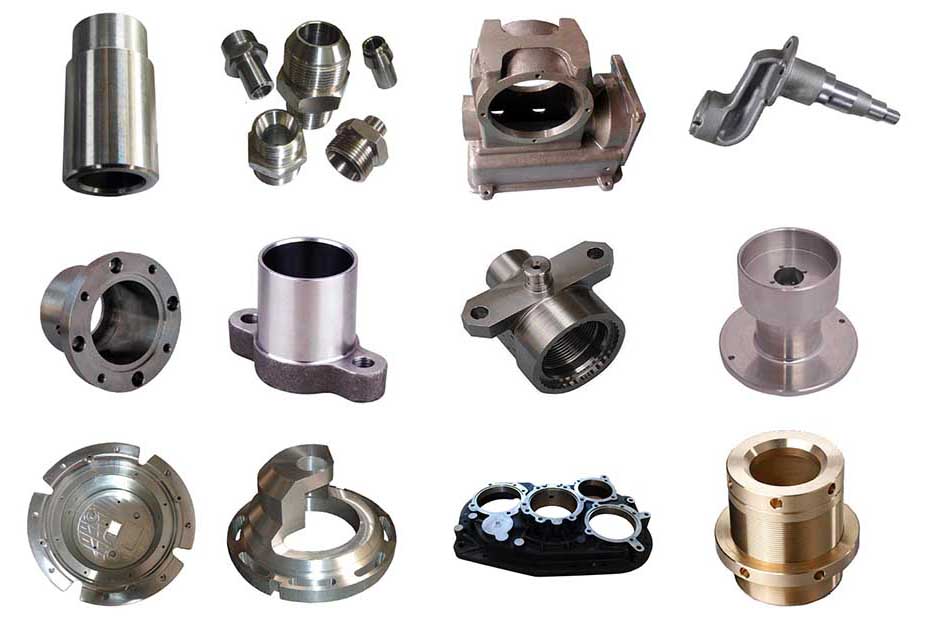
Custom Brass CNC Machining Products based on Your Drawings and Requirements.
CNC Precision Machining Capabilities |
|||
| Facilities | Quantity | Size Range (mm) | Annual Capacity |
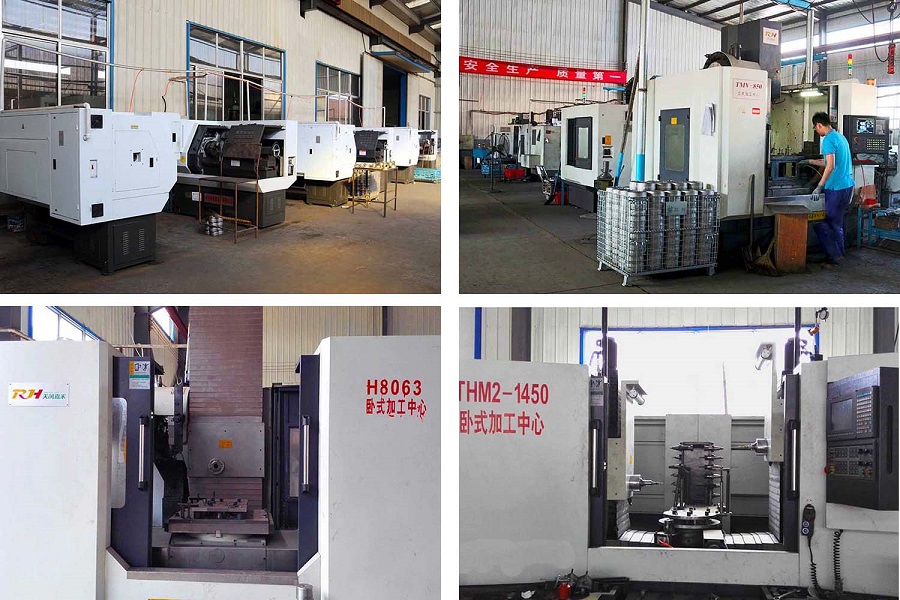
| Vertical Machining Center (VMC) | 48 sets | 1,500 × 1,000 × 800 | 6,000 tonn or 300,000 pieces |
| Horizontal Machining Center (VMC) | 12 sets | 1,200 × 800 × 600 | 2,000 tons or 100,000 pieces |
| CNC Machine | 60 sets | Max turning φ600 | 5,000 tons or 600,000 pieces |
| Standard of Tolerance: ISO 8062 2013, ISO 2768, GOST 26645 (Russia) or GBT 6414 (China). | |||
Milling is the machining process of using rotary cutters to remove material from a workpiece advancing (or feeding) in a direction at an angle with the axis of the tool. It covers a wide variety of different operations and machines, on scales from small individual parts to large, heavy-duty gang milling operations. It is one of the most commonly used processes in industry and machine shops today for machining parts to precise sizes and shapes.
Milling can be done with a wide range of machine tools. The original class of machine tools for milling was the milling machine (often called a mill). After the advent of computer numerical control (CNC), milling machines evolved into machining centers (milling machines with automatic tool changers, tool magazines or carousels, CNC control, coolant systems, and enclosures), generally classified as vertical machining centers (VMCs) and horizontal machining centers (HMCs). The integration of milling into turning environments and of turning into milling environments, begun with live tooling for lathes and the occasional use of mills for turning operations, led to a new class of machine tools, multitasking machines (MTMs), which are purpose-built to provide for a default machining strategy of using any combination of milling and turning within the same work envelope.
Grade
Comparison of Copper, Brass and Bronze
Groups
AISI
W-stoff
DIN
BS
JIS
EN
ISO
C10200
2.0040
OF
Cu
C103
C1020
CW008A
Cu-OF
C11000
2.0060
E-Cu57
C101
C1100
CW004A
Cu-ETP
-
2.0065
E-Cu58
-
-
-
-
C10300
2.0070
SE
Cu
-
-
CW021A
-
C12200
2.0090
SF
Cu
C106
C1220
CW024A
Cu-DHP
C12500
-
Cu-FRTP
C104
-
CR006A
-
C70320
2.0857
-
-
-
CW112C
CuNi3Si
C14200
2.1202
SB
Cu
C107
-
-
Cu-AsP
-
2.1356
Cu
Mn 3
-
-
-
-
-
2.1522
Cu
Si2 Mn
-
-
-
-
C16200
-
C108
-
-
CuCd1
C18200
-
CC101
-
CW105C
CuCr1
C191010
-
-
-
CW109C
CuNi1Si
C70250
-
CC102
-
CW111C
CuNi2Si
C17200
-
CB101
-
CW101C
CuBe2
C17300
-
-
-
CW102C
CuBe2Pb
C17510
-
-
-
CW110C
CuNi2Be
C17500
-
C112
-
CW104C
CuCo2Be
C15000
-
-
-
CW120C
CuZr
C65100
-
-
-
CW115C
CuSi2Mn
C65500
-
CS101
-
CW116C
CuSi3Mn1
C14500
-
C109
-
CW118C
CuTeP
C14700
-
C111
-
CW114C
CuSP
C18700
-
-
-
CW113C
CuPb1P
C21000
2.0220
CuZn5
CZ125
C2100
CW500L
-
C22000
2.0230
CuZn10
Cz101
C2200
CW501L
-
C23000
2.0240
CuZn15
CZ102
C2300
CW502L
-
C24000
2.0250
CuZn20
CZ103
C2400
CW503L
-
C25600
-
CuZn28
-
-
-
-
C26000
2.0265
CuZn30
CZ106
C2600
CW505L
-
C26800
2.0280
CuZn33
-
C2680
CW506L
-
C27200
-
CuZn36
-
-
-
-
C27200
2.0321
CuZn37
CZ108
C2700
CW508L
-
C27000
2.0335
CuZn36
CZ107
C2700
CW507L
-
C28000
2.0360
CuZn40
CZ109
C2800
CW509L
-
C33500
-
CuZn37Pb0.5
-
-
-
-
C34000
-
CuZn35Pb1
CZ118
C3501
-
-
C34500
2.0331
CuZn36Pb1,5
CZ119
-
CW601N
-
C34000
2.0331
CuZn36Pb1,5
CZ119
C3501
CW600N
-
C35300
2.0371
CuZn38Pb1,5
CZ128
-
-
-
C36500
2.0372
CuZn39Pb0,5
CZ123
-
CW610N
-
C36000
2.0375
CuZn36Pb3
CZ124
C3601
CW603N
-
C37700
2.0380
CuZn39Pb2
CZ
131 / (CZ128)
C3771
CW612N
-
C38500
2.0401
CuZn39Pb3
CZ121
C3603
CW614N
-
C38000
2.0402
CuZn40Pb2
CZ122
-
CW617N
-
-
2.0410
CuZn44Pb2
CZ130
-
-
-
C68700
2.0460
CuZn20Al2
CZ110
-
-
-
C44300
2.0470
CuZn28Sn1
CZ111
-
-
-
-
2.0530
CuZn38Sn1
-
-
-
-
-
2.0550
CuZn40Al2
-
-
-
-
-
2.0561
CuZn40Al1
-
-
-
-
-
2.0572
CuZn40Mn2
CZ136
-
CW723R
-
C61400
2.0932
CuAl8Fe3
-
-
CW303G
-
C63000
2.0966
CuAl10Ni5Fe4
CA104
-
CW307G
-
C50700
2.1010
CuSn2
-
-
-
-
C51100
2.1016
CuSn4
PB101
C5111
CW450K
-
C51000
-
CuSn5
PB102
C5102
CW451K
-
C51900
2.1020
CuSn6
PB103
C5191
CW452K
-
C52100
2.1030
CuSn8
PB104
C5212
CW453K
-
-
-
CuSn10
-
-
-
-
-
-
CUSn11
-
-
-
-
-
-
CuSn12
-
-
-
-
▶ Equipment for Precision Machining Components:
• Convertional Machining Machines: 20 sets.
• CNC Machines: 60 sets.
• 3-Axis Machining Center: 10 sets.
• 4-Axis Machining Center: 5 sets.
• 5-Axis Machining Center: 2 sets
▶ Precision Machining Capabilities
• Max Size: 1,500 mm × 800 mm × 500 mm
• Weight Range: 0.1 kg - 500 kg
• Annual Capacity: 10,000 tons
• Accuracy: As per standards: .... or on request. Minimum ±0.003 mm
• Holes to ±0.002 mm dia.
• Flatness, Roundness and Straightness: As per standards or on request.
▶ Available Process
• Turning
• Milling
• Lathing
• Drilling
• Honing, Grinding.
• Washing
▶ Available Ferrous Metal Materials for Precision Machining Components:
• Cast Iron including gray iron and ductile iron
• Carbon Steel from low carbon steel, medium carbon steel and high carbon steel.
• Steel Alloys from standard grades to special grades on request.
▶ Available Non-Ferrous Metal Materials for Precision Machining Components:
• Aluminum and their alloys
• Brass and Copper
• Zinc and their alloys
• Stainless Steel
▶ General Commerial Terms
• Main workflow: Inquiry & Quotation → Confirming Details / Cost Reduction Proposals → Tooling Development → Trial Casting → Samples Approval → Trial Order → Mass Production → Continuous Order Proceeding
• Leadtime: Estimatedly 15-25 days for tooling development and estimatedly 20 days for mass production.
• Payment Terms: To be negotiated.
• Payment methods: T/T, L/C, West Union, Paypal.
Machining requires attention to many details for a workpiece to meet the specifications set out in the engineering drawings or blueprints. Beside the obvious problems related to correct dimensions, there is the problem of achieving the correct finish or surface smoothness on the workpiece. The inferior finish found on the machined surface of a workpiece may be caused by incorrect clamping, a dull tool, or inappropriate presentation of a tool. Frequently, this poor surface finish, known as chatter, is evident by an undulating or irregular finish, and the appearance of waves on the machined surfaces of the workpiece.
Machining is any process in which a cutting tool is used to remove small chips of material from the workpiece (the workpiece is often called the "work"). To perform the operation, relative motion is required between the tool and the work. This relative motion is achieved in most machining operation by means of a primary motion, called "cutting speed" and a secondary motion called "feed". The shape of the tool and its penetration into the work surface, combined with these motions, produce the desired shape of the resulting work surface.


 русский


